Traktor
1. Download the Midi Fighter Utility, it is an essential tool for configuring and updating your Midi Fighter
2. Plug in your Midi Fighter 64 via USB (not to a USB hub) and follow the onscreen instructions on the utility.
3. Make sure your Midi Fighter is in "Notes" in the Utility.
4. Once you have the firmware up to date you need to map the unit or find a mapping for it. You can find MF64 mappings by following this link
5. Import your mapping.
- If you are using only one controller click the big import button in the preferences menu between export and setup wizard, check all available boxes under "select categories to import"
- If you are using your Midi Fighter with another controller read this article on how to import multiple TSI files
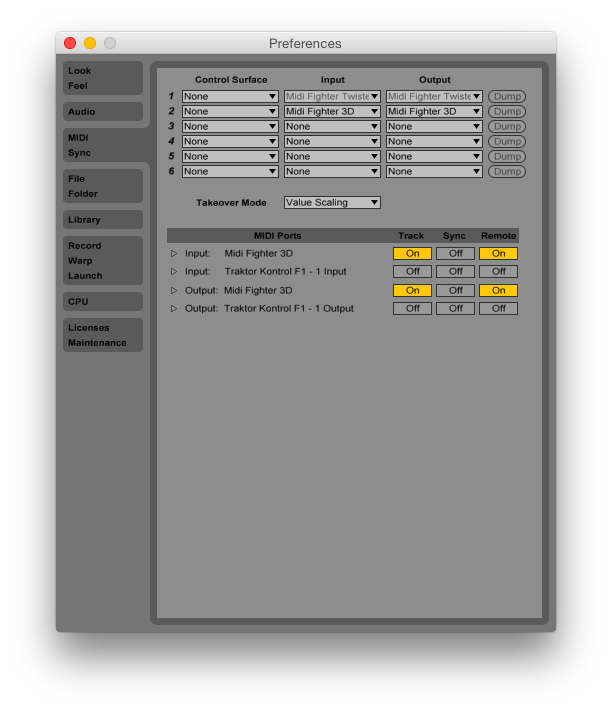
6. Go to Preferences > Controller Manager and select the Midi Fighter mapping in the Device drop down menu. There may be more than one. Select one line at a time and set the in and out ports to your Midi Fighter.
7. If your effects aren't working correctly then you need to import the effects settings again. Use the big import button between export and set up wizard in the preferences menu under controller manager. Import the *.tsi file again and only check "effects settings" under "select categories to import"